Wednesday, April 23, 2014

Confetti Popcorn...YUMMMM!

My son is having a sleepover tonight so I thought it was the perfect time to try a new treat out on the young ones!  

First you need a bag of microwave butter flavored popcorn.
Pop it in the microwave like you would regularly.
Once it's done, open it up and dump it onto a cookie sheet covered with foil.
I was even nice enough to pick out the unpopped kernels but you don't have to!  


Next you'll need to get a package of Wilton's Candy Melts that already have vanilla flavoring.
My daughter chose the Color Burst kind with colored bits inside.
You'll need a squeeze bottle or you can just use a ziploc bag with a corner cut off.
After you've melted the candy in the microwave, put it into the squeeze bottle.
Drizzle over the top of the popcorn.


Then you'll sprinkle candies over the top.  I used some cute Springy shapes but you can use anything you can think of or find!  I bet red hots would be yummy or M&M's!


Once the chocolate has hardened you just use a spoon/butterknife to break it up and toss it into a bowl and let them have at it!  You could also put these in cute goody bags with a bow and give as an inexpensive gift or party favor!
BIG HIT IN OUR HOUSE!

Monday, April 7, 2014

My Scentsy Office

I've been a Scentsy Independent Consultant for almost 3 years now (*WOOT WOOT*) and until very recently my family & I had been renting a small (like 900 sq. ft) duplex so I had to be SUPER creative with space!  Also being a homeschooling family we needed to use our dining room space for my office/computer area and we had one hall closet that I used to hold my stock and stackable drawers to hold a bunch of my paperwork and event supplies.  For 7 years I prayed for a bigger house and we worked hard to pay off our debt and save up a down payment and FINALLY found our forever home!  I love our home soooooo much and one of the things I love most is that I now have an official OFFICE!!!!  *SQUEAL!!*  (We also have a real dining room!)  So this post is where I'm going to share how I decorated my space!  I'm not completely done with it.  I need to find just the right wall decor and I bought a chandelier that I need to sweet talk my hubby into wiring and hanging for me and I want to build a cool hutch to store some things on and get a new desk but for now, I still love it and it's serving it's purpose wonderfully!  :)
 
I chose a Scentsy purple to paint on the top half of the walls and bought some beadboard and crown molding and painted them a bright white and had hubby put them up on the bottom half of the walls.  I got the grid wall racks from www.buystoreshelving.com and I LOVE them!  It's so nice to have all of my stock out on the wall where I can see what I need to order more of and when people stop by for last minute gifts or what not, they can see what I've got without having to dig through boxes!


I searched and searched for these curtains online and they were sold out almost everywhere!  Finally I found them on Macys.com and they were on sale!  WOO HOO! 

 
And to think back at my old house the closet there was even smaller than this closet and it's where I kept almost everything for my business!
I'm going to eventually cover the closet door with chalkboard paint so I can write inspirational quotes and favorite bible verses on it!


So that's my office!!!  I'm super in love with it and enjoy spending time in there working on my business stuff! 

Thursday, January 16, 2014

Squishy Fun


2 simple ingredients = a lot of FUN!

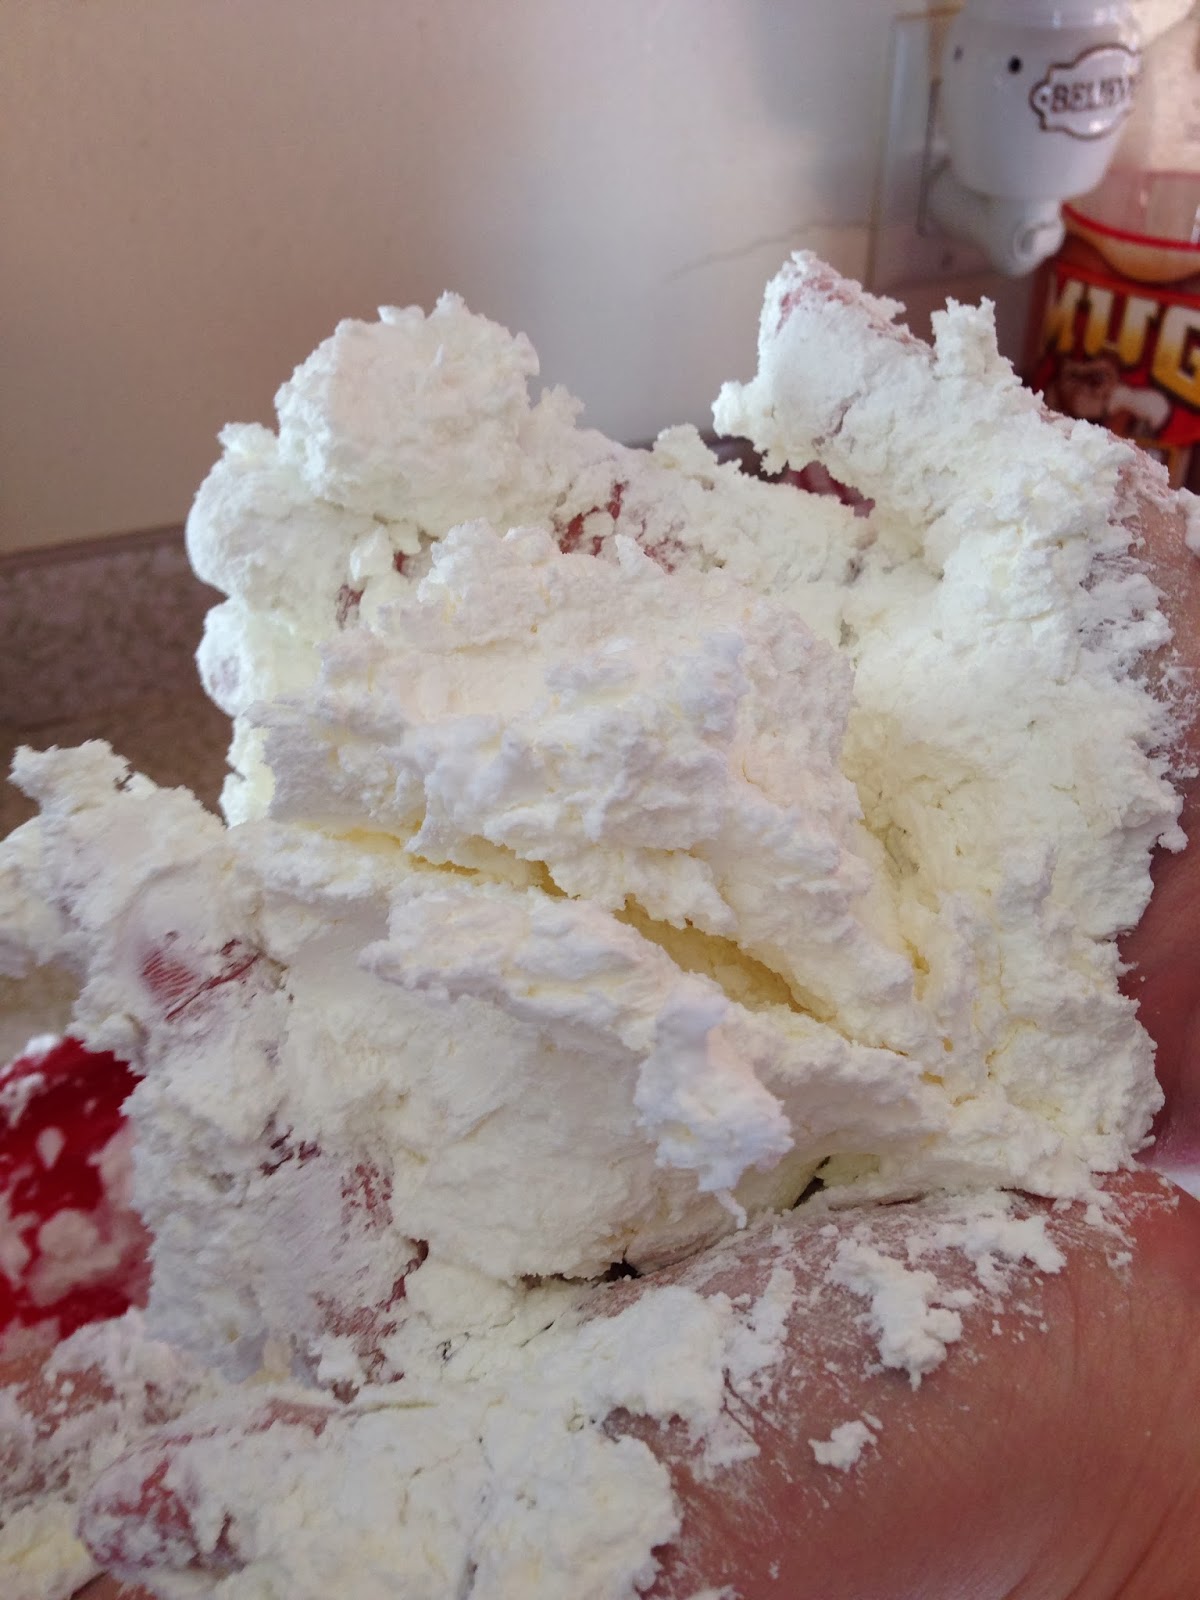
The kids & I are having a lazy morning and I could tell that the little one was getting restless so I decided to check my "Kid's Projects" board on Pinterest for some "pinspiration"!  I saw a pin about mixing cornstarch and shaving cream and I knew I had some on hand from other fun projects so off we went to the kitchen!

First of all, the kids had fun just shooting the shaving cream into the bowl...oh to be that easily entertained!  LOL


Then we tossed in some cornstarch.


Let the squishing begin...


Lots of giggles and squeals and comments about how cool it feels to squish and squeeze between their fingers!  Of course we had to periodically toss in more of each ingredient and see how the texture changed.  Tatym kept calling the cornstarch, sugar so I had to keep reminding her that it wasn't something she could eat!  LOL!
I had to get in on the fun:


It really was cool to squish around and after adding more cornstarch it started thickening up so you could mold it and roll it into balls.  
I love things like this where we can make a mess that's easy to clean up and that it entertains all of us at the same time!

Tatym had the most fun with is:


Once she was done we decided to keep it in the bowl and we'll check back in a few hours to see how the consistency has changed and enjoy some more squishing fun!


Wednesday, January 1, 2014

Mini Peach Cobblers

I saw a recipe floating around Facebook for these mini peach cobblers and knew we had all the ingredients in our pantry so I thought I'd give it a whirl!

Ingredients:
1 cup sugar
1 cup flour
2 tsp baking powder
a dash of salt
3/4 cup milk
1 stick butter melted
brown sugar
cinnamon
1 can diced peaches

Directions:
Preheat oven to 350*

Put 1 tsp of melted butter into each regular size muffin tin.

Combine the first 5 ingredients by hand.

Put 2 tbsp of batter into each regular size muffin tin (on top of the melted butter).

Put 1 tbsp diced peaches on top of the batter.

Sprinkle with brown sugar and then cinnamon.


Bake for 12 minutes.  (I actually had to bake them for closer to 20 minutes.  I waited until the top was browned and could put a toothpick in the middle and have it come out clean.)


Let them cool almost completely before taking out of pan.  The bottoms are pretty moist so I served them upside down and they were DELICIOUS!