Showing posts with label Recipes. Show all posts

Wednesday, April 23, 2014

Confetti Popcorn...YUMMMM!

My son is having a sleepover tonight so I thought it was the perfect time to try a new treat out on the young ones!  

First you need a bag of microwave butter flavored popcorn.
Pop it in the microwave like you would regularly.
Once it's done, open it up and dump it onto a cookie sheet covered with foil.
I was even nice enough to pick out the unpopped kernels but you don't have to!  


Next you'll need to get a package of Wilton's Candy Melts that already have vanilla flavoring.
My daughter chose the Color Burst kind with colored bits inside.
You'll need a squeeze bottle or you can just use a ziploc bag with a corner cut off.
After you've melted the candy in the microwave, put it into the squeeze bottle.
Drizzle over the top of the popcorn.


Then you'll sprinkle candies over the top.  I used some cute Springy shapes but you can use anything you can think of or find!  I bet red hots would be yummy or M&M's!


Once the chocolate has hardened you just use a spoon/butterknife to break it up and toss it into a bowl and let them have at it!  You could also put these in cute goody bags with a bow and give as an inexpensive gift or party favor!
BIG HIT IN OUR HOUSE!

Thursday, January 16, 2014

Squishy Fun


2 simple ingredients = a lot of FUN!

The kids & I are having a lazy morning and I could tell that the little one was getting restless so I decided to check my "Kid's Projects" board on Pinterest for some "pinspiration"!  I saw a pin about mixing cornstarch and shaving cream and I knew I had some on hand from other fun projects so off we went to the kitchen!

First of all, the kids had fun just shooting the shaving cream into the bowl...oh to be that easily entertained!  LOL


Then we tossed in some cornstarch.


Let the squishing begin...


Lots of giggles and squeals and comments about how cool it feels to squish and squeeze between their fingers!  Of course we had to periodically toss in more of each ingredient and see how the texture changed.  Tatym kept calling the cornstarch, sugar so I had to keep reminding her that it wasn't something she could eat!  LOL!
I had to get in on the fun:


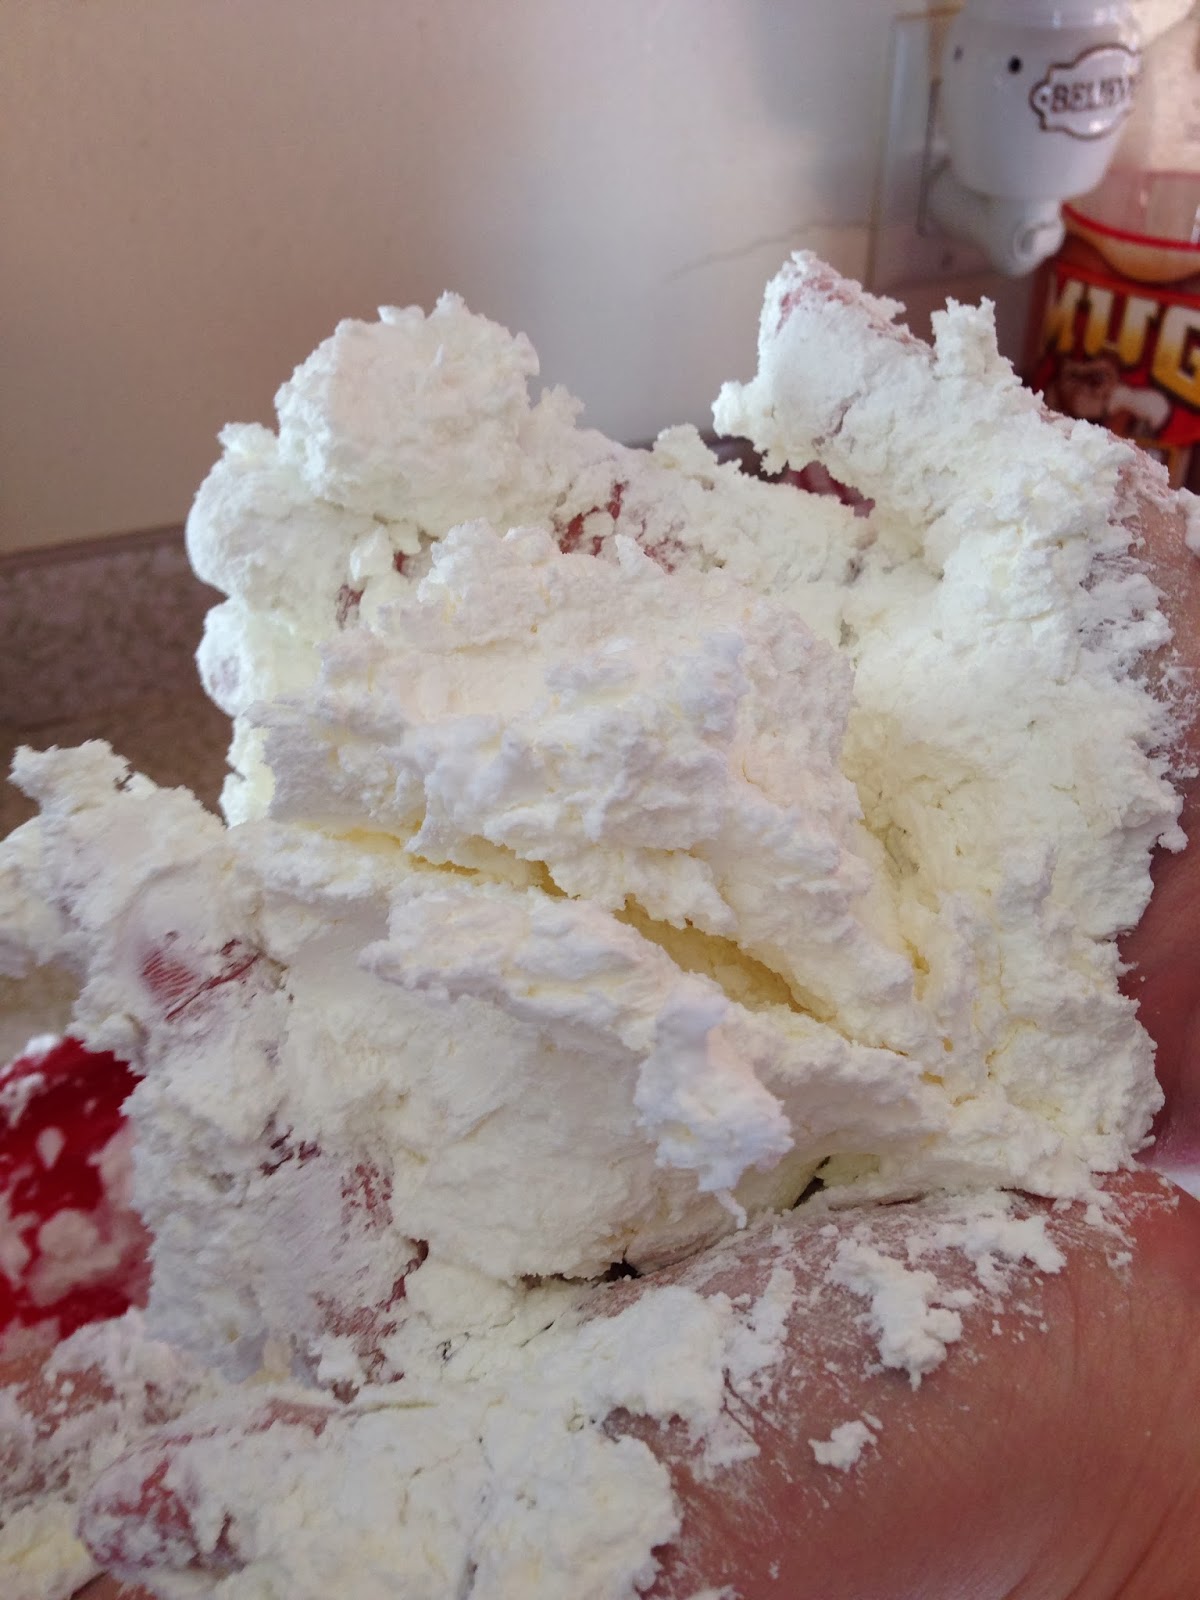
It really was cool to squish around and after adding more cornstarch it started thickening up so you could mold it and roll it into balls.  
I love things like this where we can make a mess that's easy to clean up and that it entertains all of us at the same time!

Tatym had the most fun with is:


Once she was done we decided to keep it in the bowl and we'll check back in a few hours to see how the consistency has changed and enjoy some more squishing fun!


Wednesday, January 1, 2014

Mini Peach Cobblers

I saw a recipe floating around Facebook for these mini peach cobblers and knew we had all the ingredients in our pantry so I thought I'd give it a whirl!

Ingredients:
1 cup sugar
1 cup flour
2 tsp baking powder
a dash of salt
3/4 cup milk
1 stick butter melted
brown sugar
cinnamon
1 can diced peaches

Directions:
Preheat oven to 350*

Put 1 tsp of melted butter into each regular size muffin tin.

Combine the first 5 ingredients by hand.

Put 2 tbsp of batter into each regular size muffin tin (on top of the melted butter).

Put 1 tbsp diced peaches on top of the batter.

Sprinkle with brown sugar and then cinnamon.


Bake for 12 minutes.  (I actually had to bake them for closer to 20 minutes.  I waited until the top was browned and could put a toothpick in the middle and have it come out clean.)


Let them cool almost completely before taking out of pan.  The bottoms are pretty moist so I served them upside down and they were DELICIOUS!

Sunday, July 7, 2013

Ice Cream in a Bag

Yesterday was my sweet little girl's 5th birthday party.  Making ice cream in a bag was one of the items on our Summer Bucket List and I figured having the kids make their own ice cream at the birthday party would be fun.  The kids thought it was fun at first but their fingers were getting super cold and their arms tired out and of course the trampoline was calling their attention away so the moms and other adults ended up shaking it up the rest of the time!  :)  Once the ice cream was all shook up and ready to eat the kids were more than happy to climb down from the trampoline and eat away!


Here's the recipe I found online:

Prep Time 5 minutes
What you'll need

  • Ice cubes (enough to fill each gallon-size bag about half full)
  • 1 cup half and half
  • 1/2 cup salt (The bigger the granules, the better. Kosher or rock salt works best, but table salt is fine.)
  • 2 tablespoons sugar
  • 1/2 teaspoon vanilla extract
  • 1 pint-size ziplock bag
  • 1 gallon-size ziplock bag
  • Your favorite mix-ins such as chocolate chips, cereal pieces, or fresh fruit.

Serves 1
How to make it

Combine the sugar, half and half, and vanilla extract in the pint-size bag and seal it tightly.

Place the salt and ice in the gallon-size bag, then place the sealed smaller bag inside as well. Seal the larger bag. Now shake the bags until the mixture hardens (about 5 minutes). Feel the small bag to determine when it's done.
 
Take the smaller bag out of the larger one, add mix-ins, and eat the ice cream right out of the bag. Easy cleanup too!
 
We used crushed oreo cookies and chocolate chips as mix-ins and my hubby even used peppermint extract for a minty ice cream flavor!


Monday, June 24, 2013

Monsters University, Dyed Rice & Stuffed Peppers, Oh My!

Happy Monday everyone!  My oldest child is away at a camp-out for VBS with some friends of ours and my sweet girl was missing her big brother so I was on a mission to have a special girl day!  I surprised her by taking her to the theater to see:


It was a super cute movie and I was relieved that there wasn't a bunch of adult humor which usually ruins a movie for me!  Tatym loved it and we had a great time sharing snacks and giggling away!

Then I decided to consult our Summer Bucket List for a craft project and decided we'd dye rice and make pictures!


If you couldn't tell, Tatym is a wee bit of a camera ham!  :)  Catching her making a regular, cute smile is R-A-R-E and I'm ok with that because that's who she is and I love her spunky personality!

So to start I put some rice in snack size ziploc bags.  All we had was brown rice.  I'm sure white rice would make brighter colors but I try not to have it in the house these days as we're switching to a Clean Eating diet.  Anyways, I didn't measure how much rice, I just put some in and then I covered it with rubbing alcohol and Tatym squeezed lots of food coloring in.


Then we left it on the counter for an hour, turning it over and squishing it every 20 minutes to make sure all of the rice was getting covered.  
I then dumped out the liquid, lined a cookie sheet with wax paper and layed the rice on it to dry.


After about 30 minutes I decided to put it outside because 1: the smell of rubbing alcohol was not so pleasant for either one of us and 2: I thought it would dry faster!

Once it was all dry we got out some white cardstock paper that I had on hand and some glue and went to town making pictures and writing words.


And of course, after awhile the colors started getting mixed up so we put it all together in one of the cookie sheets and played in it, pushing it into one big pile and drawing pictures in it.


 While the rice was outside drying, of course I had to make dinner and earlier I mentioned how we've been changing to a Clean Eating diet so I've been trying LOTS of new recipes and new ways of cooking things.  We haven't switched to completely organic but I have been trying to buy everything fresh and eventually will switch to organic.  Tonight I tried my hand at stuffed bell peppers and it was YUMMY!


Here's the recipe that I used and I'm sorry, I'm totally spacing on where exactly I got the recipe---

Ingredients:
4 large bell peppers, any color & make sure they have a flat enough bottom to stand up, remove the top, ribs & seeds
water
sea salt
2 cups cooked brown rice
1 tsp EVOO
1 yellow onion, peeled & chopped
1 large carrot, peeled & grated
1 cup butternut squash, peeled & diced
3 cloves garlic, passed through a garlic press
2 cups fresh roma tomatoes, diced and set over a fine mesh sieve to drain (I just put them on a paper towel)
1- 15 oz can black beans, rinsed & drained
1 cup fresh corn kernels (I omitted this ingredient since we're trying to stay away from corn)
1/2 cup fresh chopped cilantro (I omitted this one too since my hubby doesn't like it)
juice of one fresh lime
fresh ground pepper

Directions:
Preheat oven to 350*.
Place cooked brown rice in a bowl and let cool.
Bring a large pot of salted water to a boil.  Place the peppers in the water and cook briefly.  The peppers just need to be a little soft.  Remove the peppers from the water and put them upside down on a plate lined with paper towels to let the water drain out.
In a large skillet, heat the EVOO and saute onion, carrot and squash.  Cook 10 minutes, covered.  Add garlic and cook a few minutes more.  Now add tomatoes, beans and corn.  Cook for 5 more minutes.  Remove from heat.  Add rice to the mixture and season with cilantro, lime, salt & pepper.  Mix together until evenly distributed.  Set aside.
Prepare a baking pan with a light coat of cooking spray or oil.  Place each of the peppers right side up on the pan.  Stuff each pepper with the rice mixture.  Don't pack the rice too tightly.  Bake for 20 minutes and serve immediately.  You can add lean ground chicken/turkey to the rice mixture if you want.

I think they turned out great and my hubby liked it!